
How to Re-tube An Earmould: A Step-by-Step Guide for Hearing Aid Users

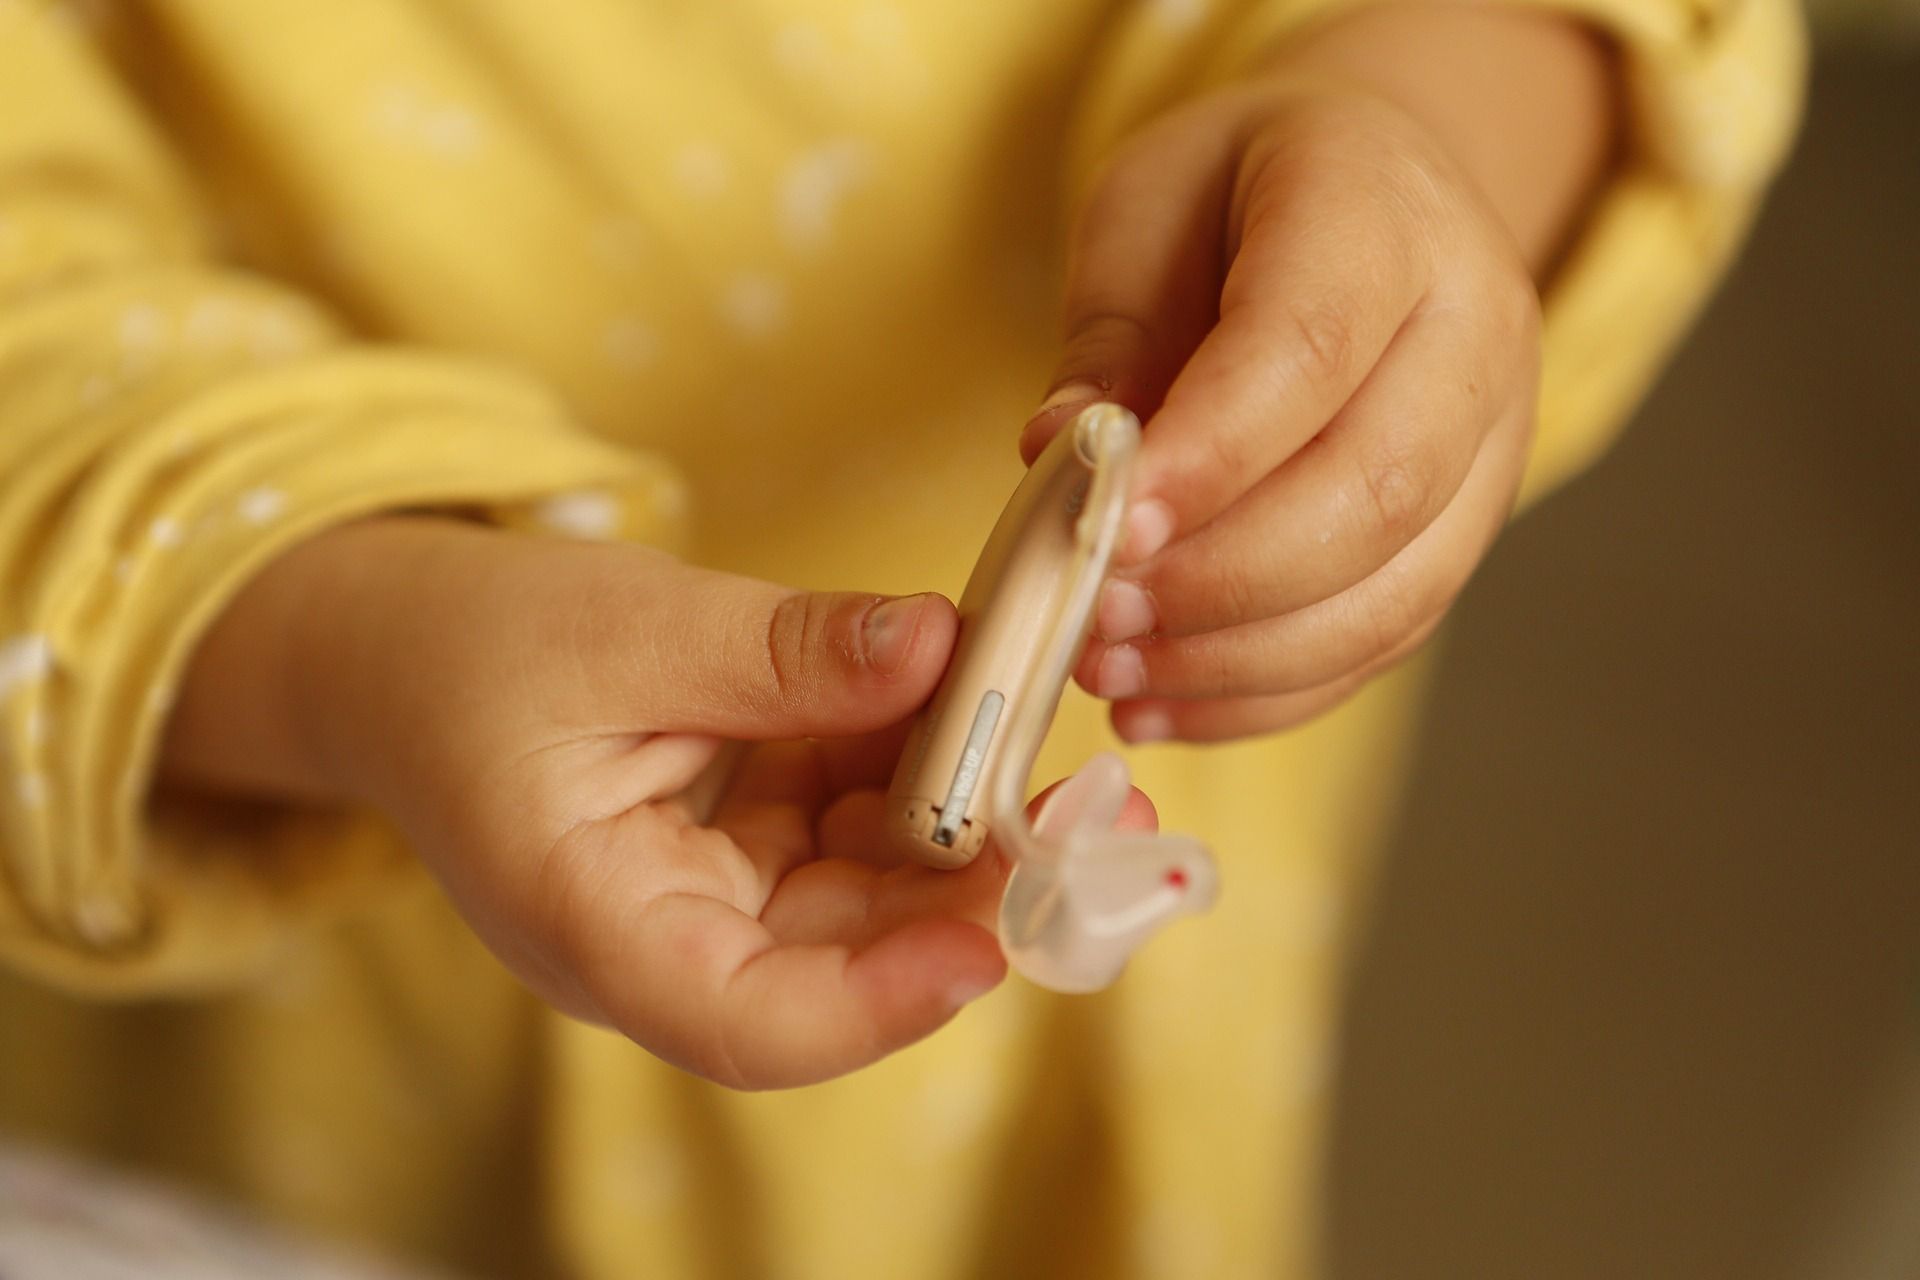
Re-tubing an earmould is a simple but essential maintenance skill that can save you a time-consuming trip to the audiology clinic. If you wear behind-the-ear (BTE) hearing aids with an earmould, learning how to replace the tubing yourself can help keep your aids working at their best.
Over time, earmould tubing naturally hardens, becomes brittle, and discolours. When this happens, sound quality can be reduced, feedback may increase, and the fit may feel uncomfortable. Regular checks and frequent changes of tubing can help maintain clear, reliable sound.
In this guide, we'll show you how to re-tube an earmould at home, step by step.
What You'll Need to Re-tube an Earmould
There are a various tools that are available to help make the process as easy as possible. Here are a few of the bits that we suggest you gather before beginning to re-tube your earmould:
- Replacement earmould tubing
- Tube threader
- Scissors
- Earmould tube drill (optional, but very helpful!)
- Earmould cleansing kit or washing-up liquid and very warm water
- Hearing aid puffer
OR, try our full Hearing Aid Care Kit for Hearing Aids with Earmoulds!
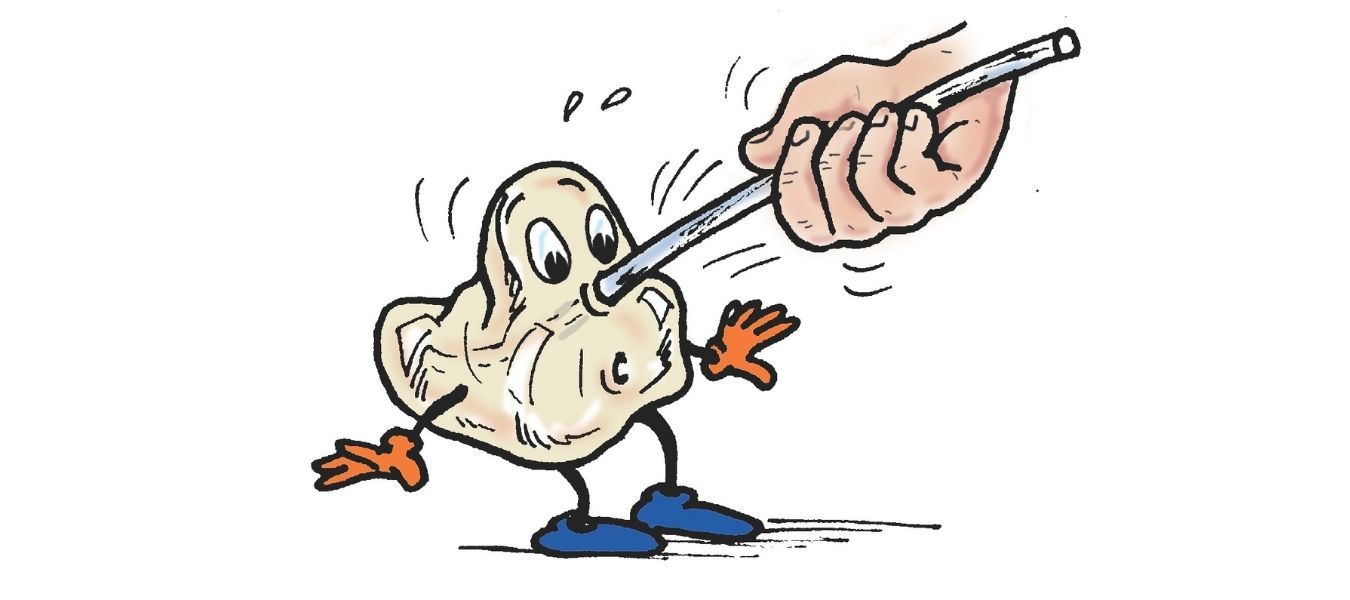
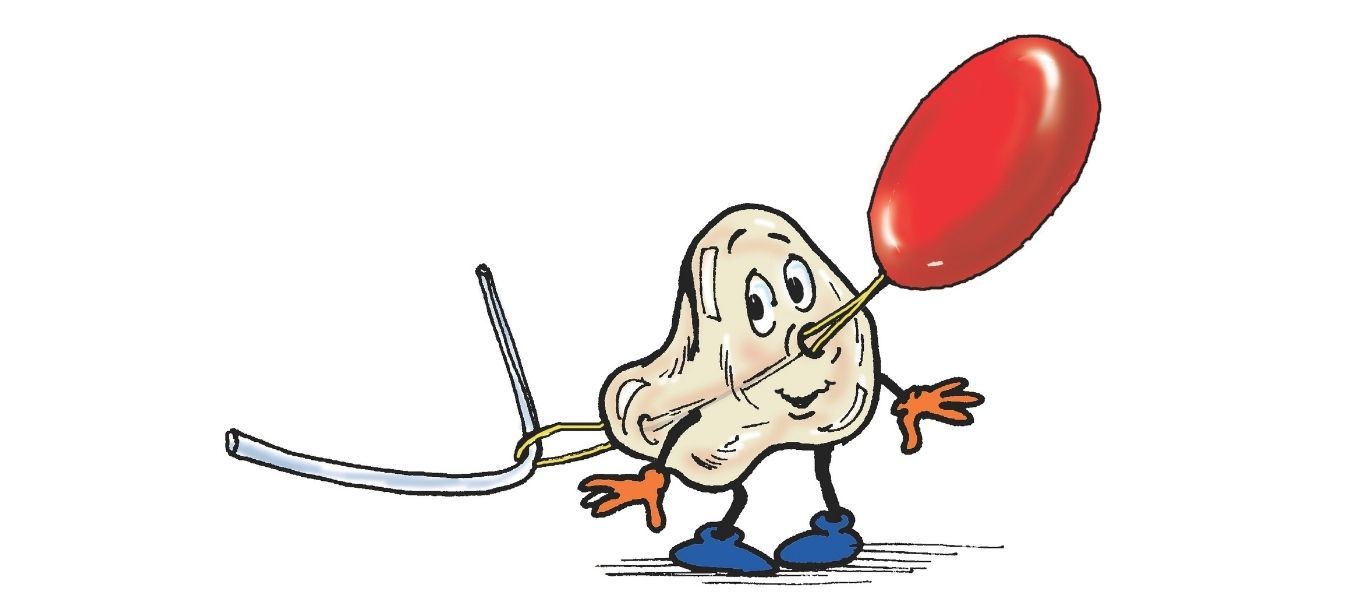
Step 1: Remove the Old Tube
Gently pull the old tube out from the earmould.
Check that the hole running through the mould is clean and free from debris. An earmould tube drill makes this much easier and ensures a clear pathway for the new tube.
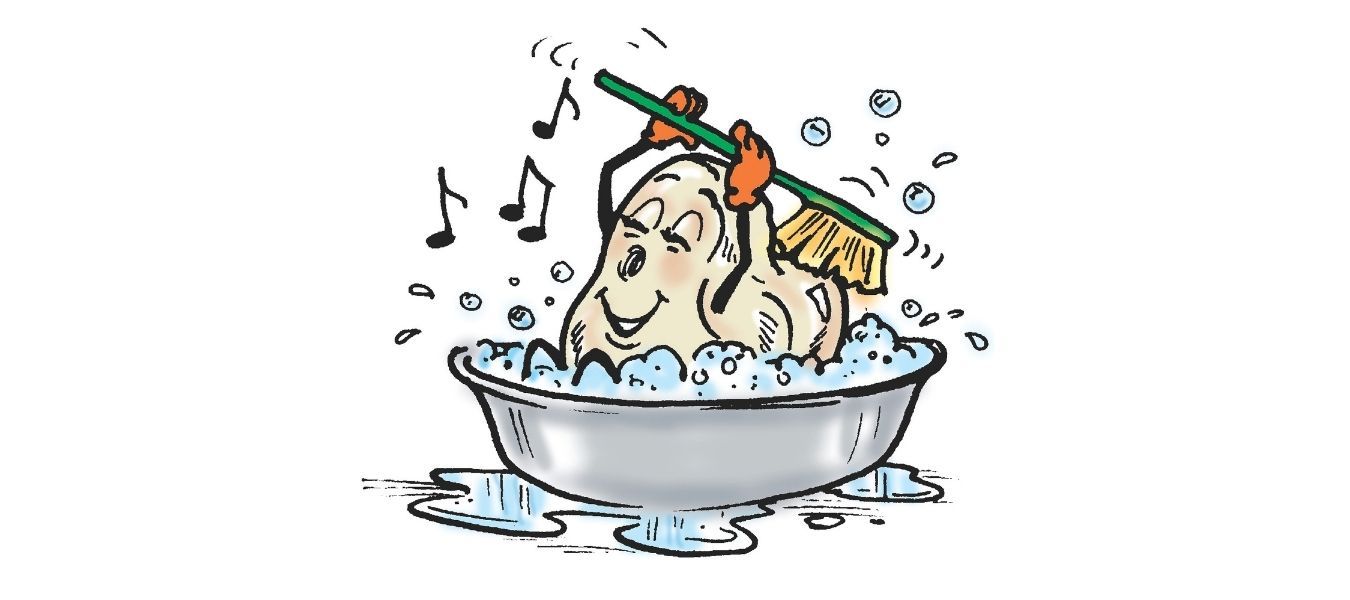
Step 2: Wash and Thoroughly Dry the Earmould
Clean the earmould using an earmould cleansing kit or washing-up liquid with very warm water.
Rinse well and dry thoroughly. Then use a puffer to remove any moisture from inside the mould.
The earmould must be completely dry before inserting new tubing. Any trapped moisture can affect sound quality.
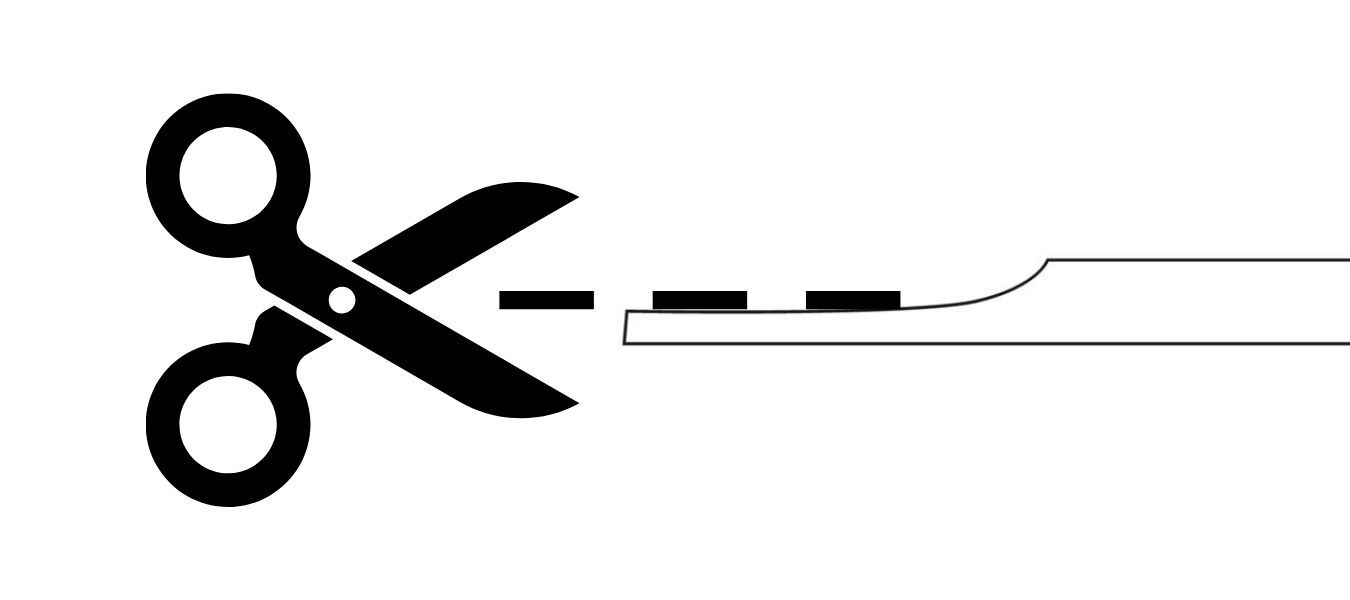
Step 3: Prepare the New Tubing
Take a new piece of earmould tubing and taper one end by cutting diagonally down the first 2cm, reducing it to around half its thickness.
This creates a pointed end, making it much easier to thread through the mould.
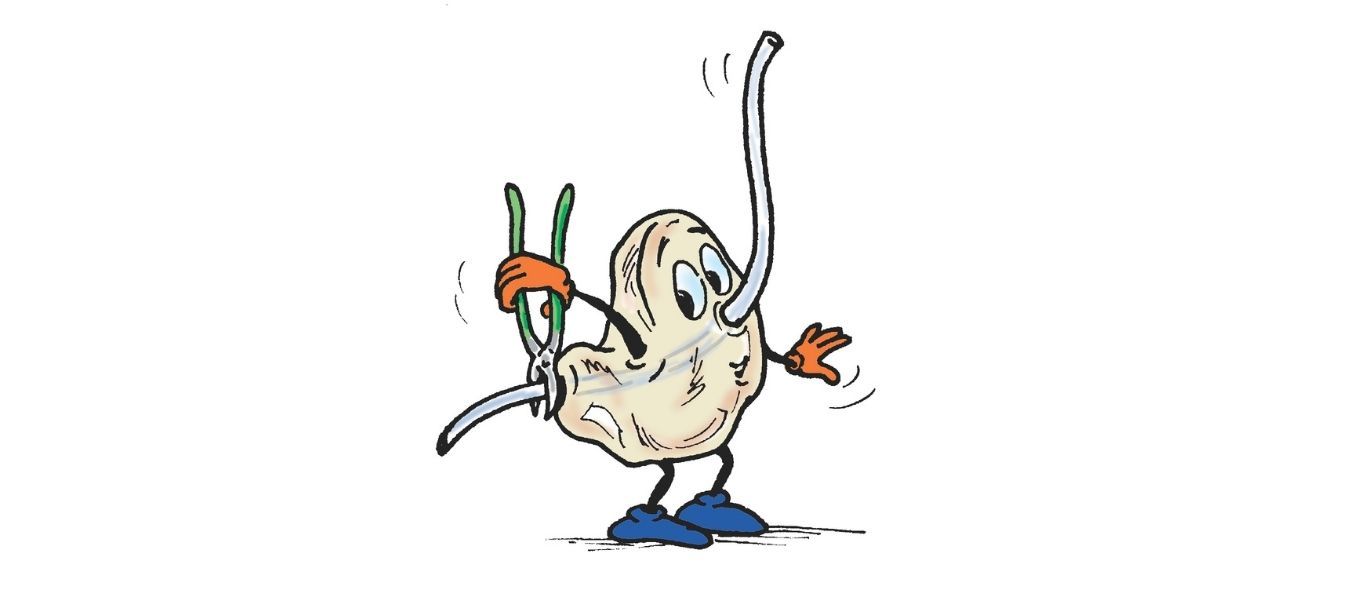
Step 4: Thread the New Tube Through the Mould
Insert the tube threader through the hole at the tip of the mould.
Pass approximately 1cm of the tapered tubing through the loop of the threader. Then gently draw it back through the mould until the tubing is pulled into place.

Step 5: Position the Bend Correctly
This step is crucial for comfort and sound performance.
When worn, the tubing should lie naturally along the groove (“gully”) that leads up to the top of your ear.
Pull the tubing through until the bend just touches the mould. Check the angle carefully and adjust by pulling slightly forward or back.
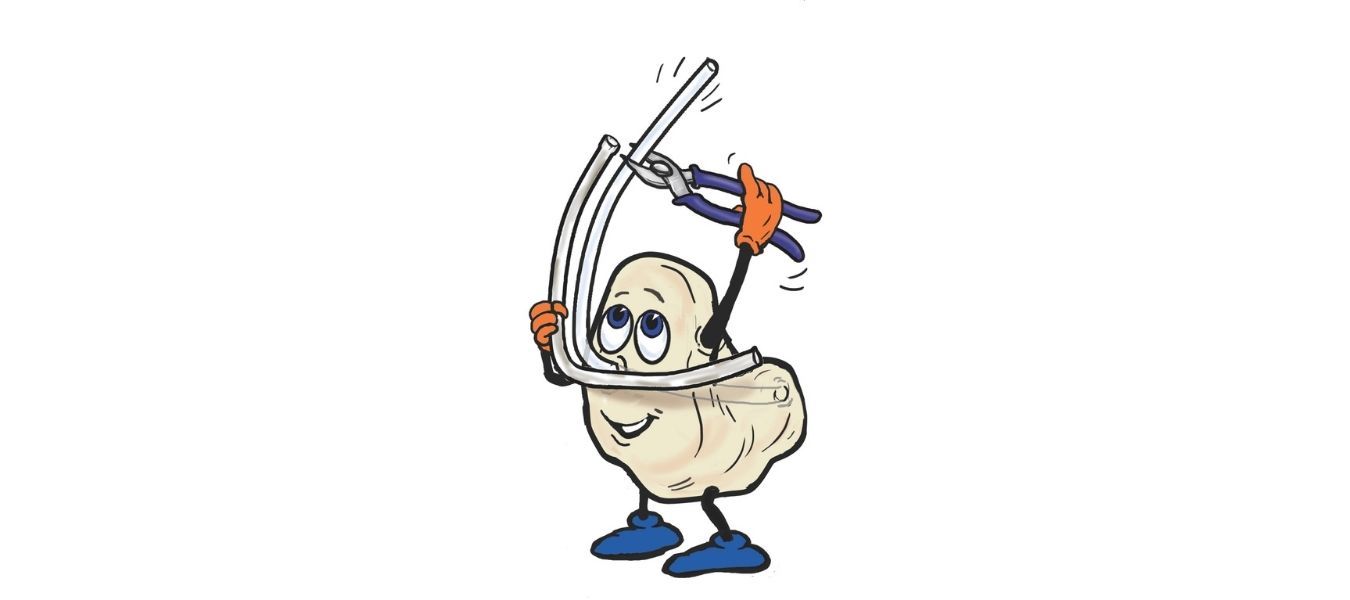
Step 6: Trim the Mould End of the New Tube
Once the tube is positioned correctly, cut off the excess tubing as close to the tip of the mould as possible.
Ensure there are no rough edges that could irritate your ear.
Step 7: Cut the Tubing to the Correct Length
This is the most important step for a comfortable fit.
Line up your old tube with the tip of the mould, following the same angle as the new tube.
Use the old tube as a guide and cut the new tubing to the correct length using scissors.
Finally, reattach your hearing aid.

You're Done! ✅
Congratulations - you've successfully re-tubed your earmould.
If it doesn't feel quite right the first time, don't worry. Simply remove the tube and try again. It gets easier every time.
How Often Should You Replace Earmould Tubing?
Most people need to replace earmould tubing every 4-6 months, although this can vary depending on wear, climate and your lifestyle.
Signs your earmould tubing needs replacing:
- Yellowing or discolouration
- Hard or brittle tubing
- Cracks in the tube
- Increased feedback (whistling)
- Reduced sound clarity
Regular maintenance helps to extend the life of your hearing aids and ensures consistent sound quality.
Need Replacement Earmould Tubes?
Use our My Hearing Aid guide to find the right products for you:
- First, select your hearing aid make
- Then, choose your model
- You'll be shown the correct tubes and accessories for your device
Keeping a spare set of tubes at home means you can quickly re-tube whenever needed.